

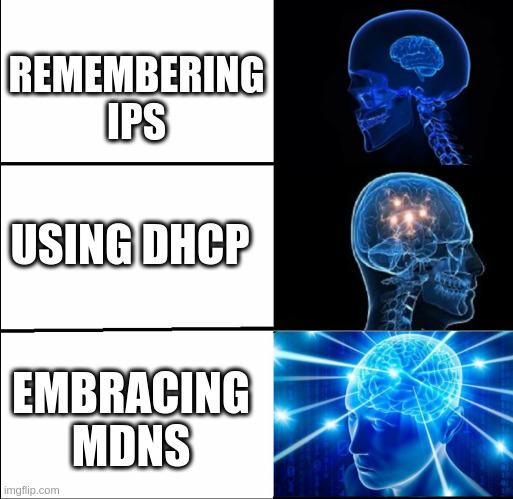
Ever tried remembering a string of numbers like “192.168.1.145” when you just want to connect to your Raspberry Pi? I certainly have—and trust me, IP addresses are not something mere mortals should have to memorize. Enter mDNS (multicast DNS): the unsung hero of local networks that lets you connect using simple names like “raspberrypi.local” instead.
In today’s post, I’ll explain how mDNS works in plain English, why it’s so darn useful for your home network, and walk you through setting it up on my favorite mini-computer, the Raspberry Pi 4 (8 GB). So grab a cup of coffee and get ready for a geeky adventure!
What Exactly Is mDNS?
mDNS stands for multicast DNS. Unlike traditional DNS—think of it as the phonebook of the internet—mDNS is designed for small networks that don’t have a dedicated DNS server. Instead of querying a central server, your devices talk to each other directly over a special multicast address (224.0.0.251 for IPv4) on UDP port 5353.
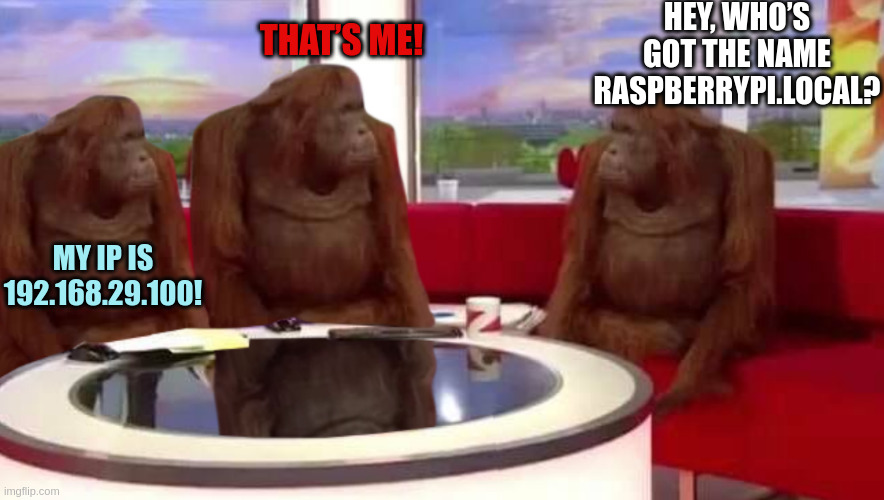
In simpler terms, when you type “raspberrypi.local” in your browser, your computer sends out a “Hey, who’s got the name raspberrypi.local?” message over the network. The device with that name (your Pi, in our case) then shouts back, “That’s me! My IP is 192.168.x.x!” All this happens automatically, so you don’t have to remember any IP numbers.
(Hint: mDNS is a key part of zero-configuration networking—meaning devices can connect without you having to fiddle with complex settings.)
How mDNS Works (Without the Jargon)
Imagine you’re at a party where everyone is wearing name tags. Instead of memorizing everyone’s phone number, you simply call out to “Alice” (or in our case, “raspberrypi.local”) and she waves back, letting you know where she is. That’s mDNS in action!
Here’s a quick breakdown:
- Multicast Query: Your computer sends a DNS-like query to a multicast address. Think of it as yelling out into the room.
- Device Response: The device with the matching name listens to the query and responds with its IP address.
- Caching: Your computer remembers the answer for a while, so it doesn’t have to ask again immediately.
This elegant process makes it a breeze to manage many devices on your local network without a centralized server.
Why mDNS Is So Handy
Let’s face it: our home networks are getting crowded. You might have smart TVs, laptops, smartphones, smart speakers, and yes—a Raspberry Pi or two. Keeping track of all these devices by IP address is like trying to remember every guest’s phone number at that wild party. With mDNS, you can simply connect to “pi.local” or any custom name you assign, which is way more memorable (and frankly, more human).
Not only does mDNS make connecting to devices easier, but it also opens the door to cool possibilities such as:
- Service Discovery: If you’re hosting a web server, media server, or even a game server on your Pi, you can advertise it using a friendly name like “media.local” or “game-server.local”.
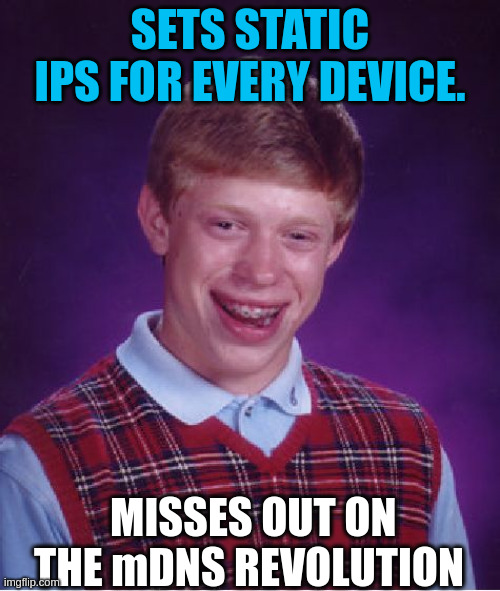
- Dynamic Networks: Since IP addresses can change (thanks to DHCP), mDNS ensures that you always reach your device by name, regardless of its current IP address.

Setting Up mDNS on Your Raspberry Pi 4
Let’s get practical. Here’s a step-by-step guide to setting up mDNS on your Raspberry Pi 4 using Avahi (the Linux implementation of mDNS).
1. Install Avahi
First, open a terminal on your Raspberry Pi and install the Avahi daemon. This software handles mDNS announcements for you.
sudo apt update
sudo apt install avahi-daemon
Once installed, check its status with:
sudo systemctl status avahi-daemonYou should see something like “active (running)”—which means your Pi is ready to shout its name to the network.

2. Configure Your Hostname
By default, your Raspberry Pi might be named “raspberrypi”. If you’d like to change that (say, to “pi” for simplicity), edit the hostname file:
sudo nano /etc/hostnameAlternatively, you can change the hostname using systemd with:
sudo hostnamectl set-hostname piReplace the existing name with your desired hostname (e.g., pi), then save and exit. Do the same in the hosts file:
sudo nano /etc/hostsEnsure you have a line like:
127.0.1.1 pi
Reboot your Pi for the changes to take effect:
sudo rebootAfter reboot, you should be able to access your Pi at pi.local from any device on your network that supports mDNS.
3. Testing mDNS
On another device (or even from your Pi), open a terminal and try:
ping pi.local
If everything is set up correctly, you’ll see replies with the IP address of your Raspberry Pi. Now you can bid farewell to the days of manually typing in those pesky IP numbers!
Other Cool Uses of mDNS
While connecting to your Pi using a friendly name is awesome, mDNS can do even more:
- Hosting Services: If you’re running a web server, you can use the mDNS domain (e.g.,
pi.local) as your service address. This means you can host websites, file servers, or game servers on your Pi and access them using a memorable name. - Multiple Devices: With mDNS, each device on your local network can announce its own unique name. So whether you have a smart TV, a laptop, or a network printer, you can reach them with names like “tv.local” or “printer.local”. No more hunting down the right IP!
- Service Discovery: Many modern applications use mDNS (or its companion DNS-SD) to automatically find devices. For instance, your smartphone might automatically discover your smart home devices without you needing to configure anything manually.

Some Pointers
- Default Domain in mDNS : mDNS utilizes the
.localtop-level domain (TLD) for hostname resolution within local networks. This means any device configured for mDNS can be accessed using a.localaddress, such asraspberrypi.local. The.localdomain is reserved exclusively for link-local hostnames and is not routable on the wider internet. - mDNS Support on Android Devices : Historically, Android devices lacked native support for mDNS, which meant that attempting to access
.localaddresses (e.g.,raspberrypi.local) from applications like Termux would not work. However, starting from November 2021, Android’s DNS resolver added support for mDNS.localresolution. This enhancement allows Android devices to resolve.localhostnames transparently. Despite this improvement, some applications may still not fully support mDNS, leading to potential issues when trying to ping.localaddresses from certain apps.
Final Thoughts
mDNS makes our digital lives a lot more human by replacing obscure IP addresses with names we can actually remember. Setting it up on a Raspberry Pi is straightforward, thanks to Avahi, and it opens up a world of possibilities for local networking and service discovery.
So next time you’re tempted to memorize another string of digits, just remember: with mDNS, “pi.local” is all you really need. And if you ever host a new service, consider giving it a fun, memorable name—because life’s too short for boring IP addresses!
Happy networking, and may your local connections always be just a name away!
P.S. If you run into any hiccups , drop a comment below. I’d love to hear your mDNS stories!
